
Last updated November 21, 2026
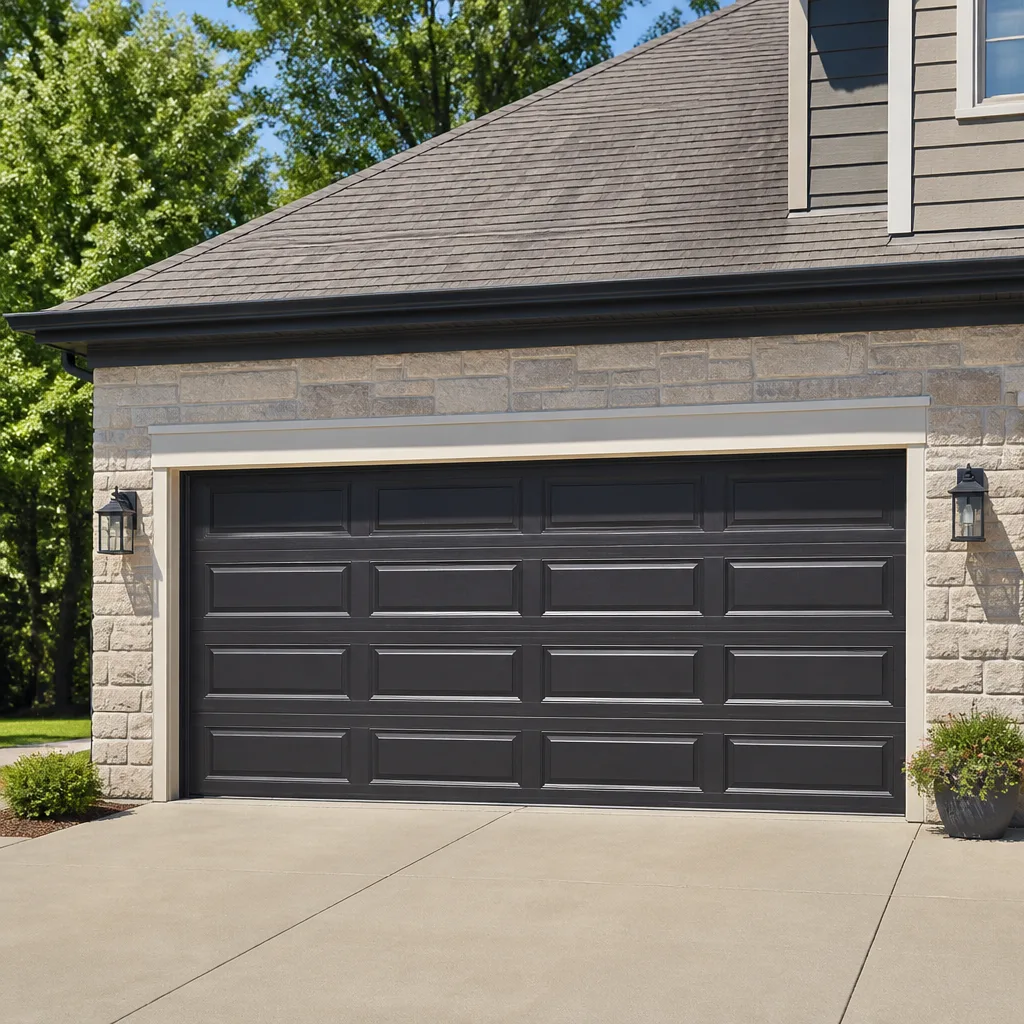 Raised-panel steel
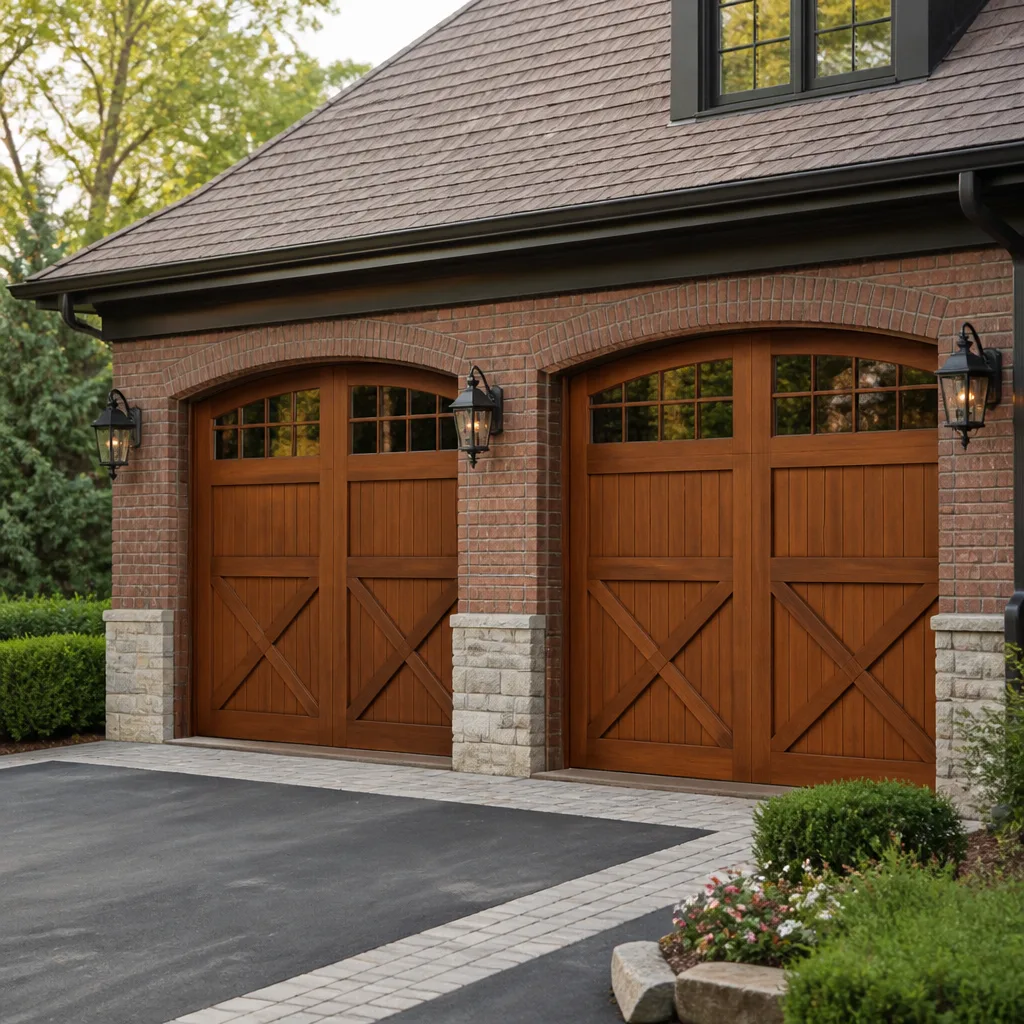 Carriage house
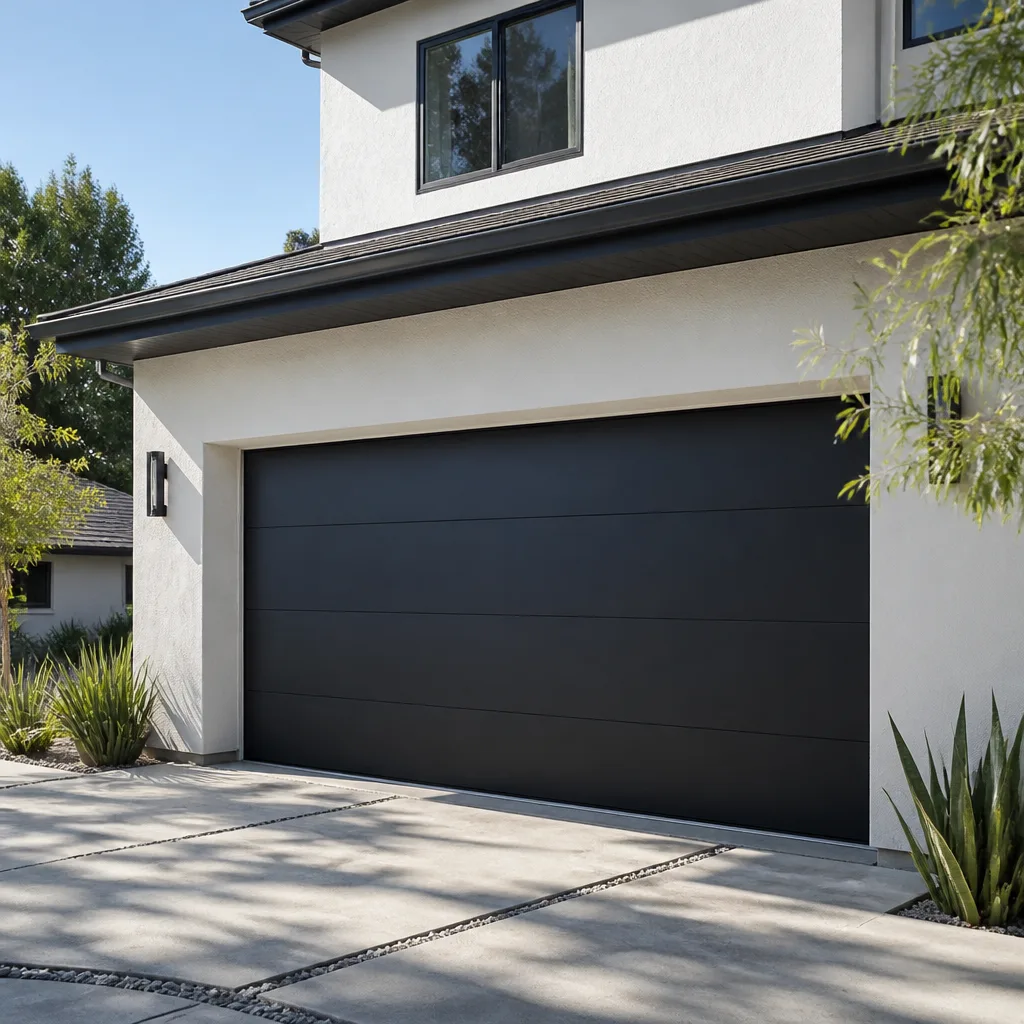 Modern flush
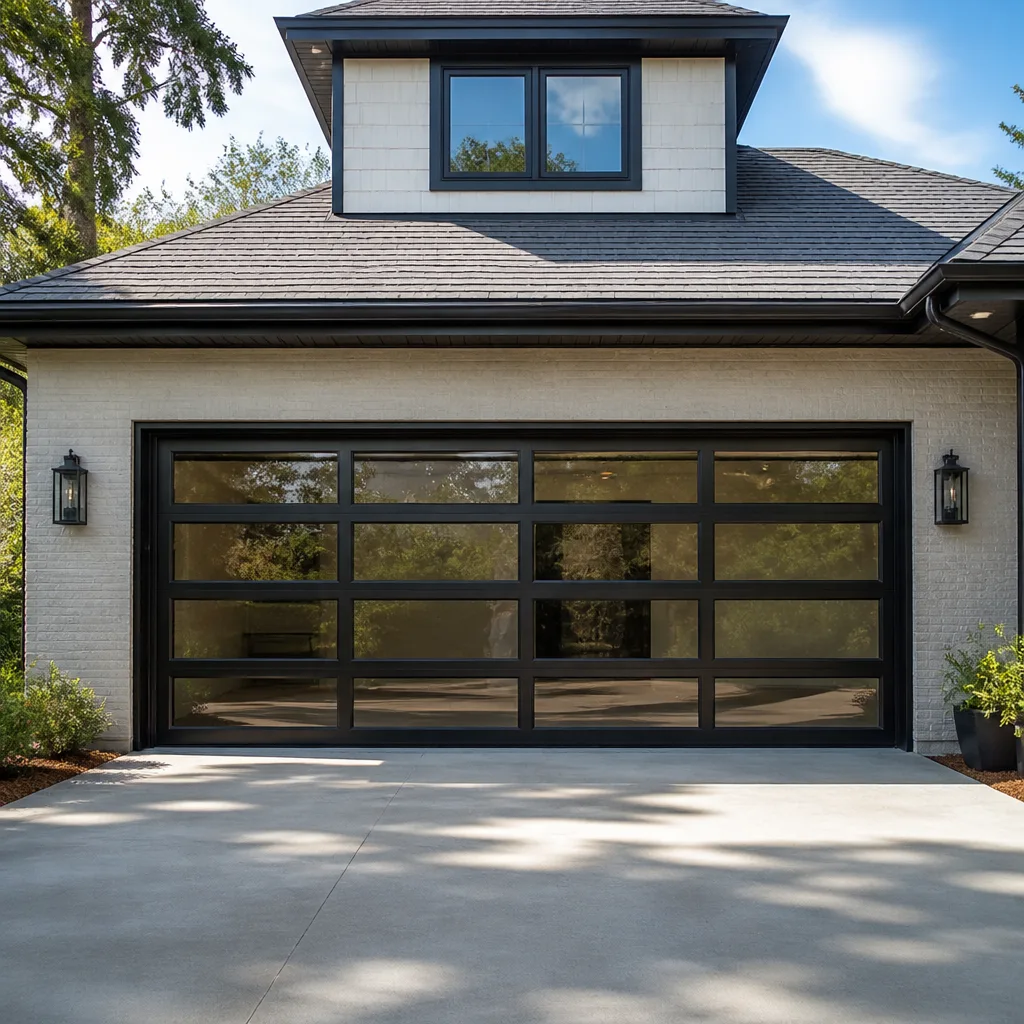 Full-view glass
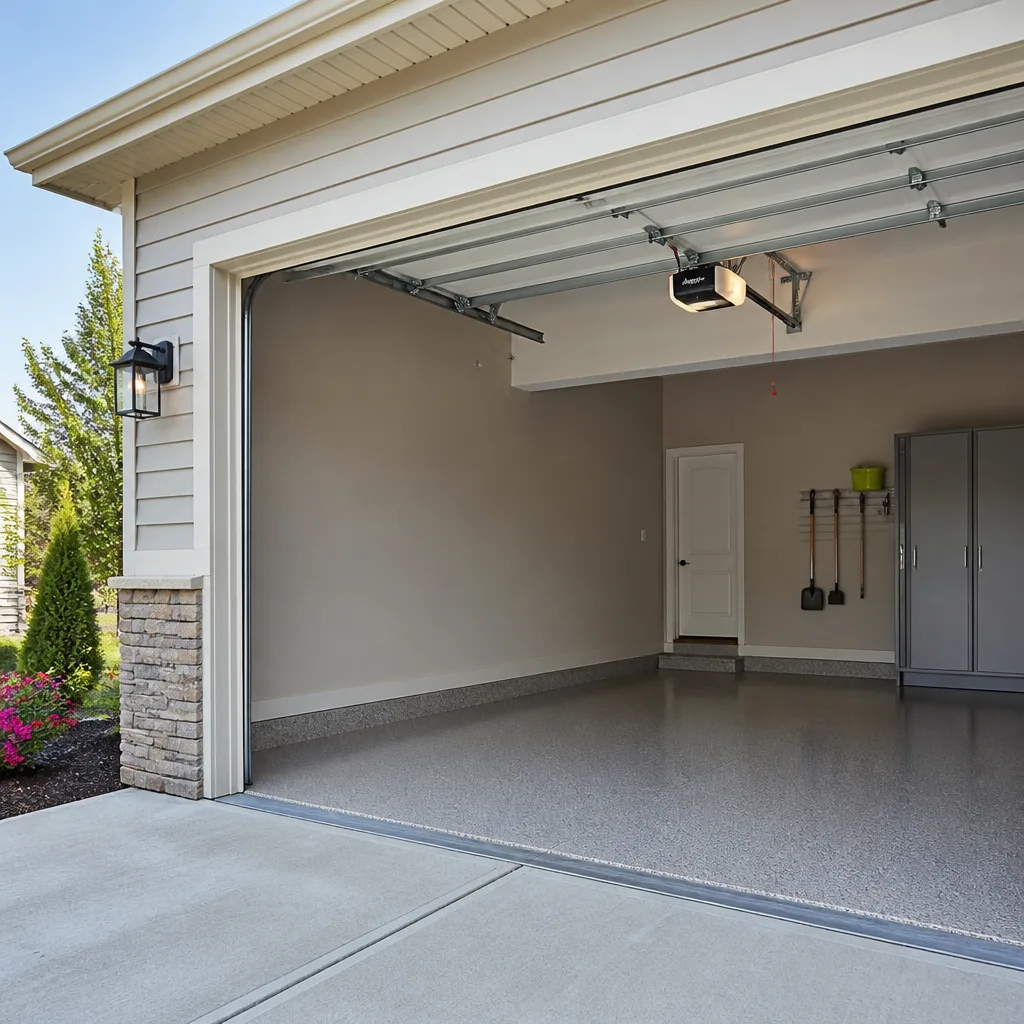 LiftMaster openers
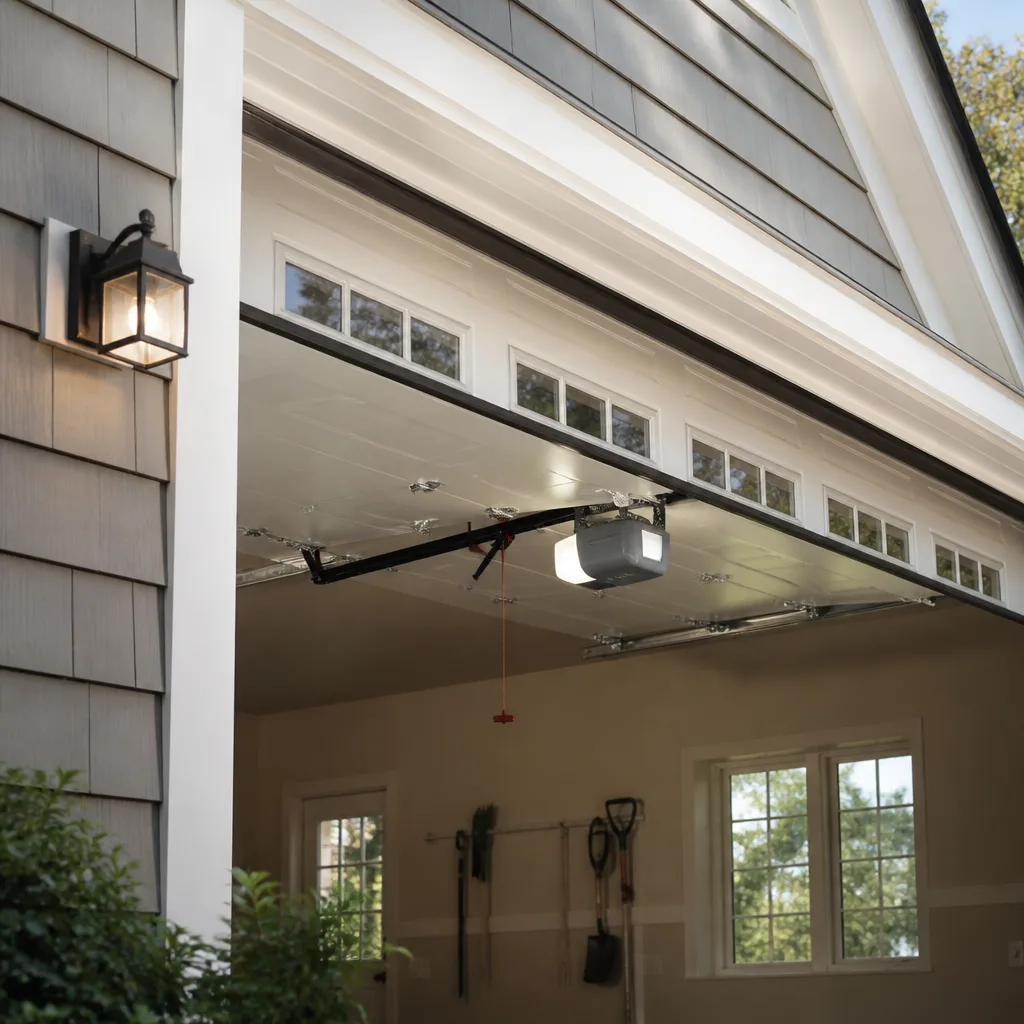 Chamberlain openers
Full 25-point door and opener safety check with every visit - springs, cables, rollers, tracks, and your LiftMaster or Chamberlain opener included
You get a price before we start. It does not change when the pro arrives.
Get your free estimateGarage Door Repair Maintenance Checklist for Wellington Homeowners
Most garage door checklists you’ll find online were written for a four-season climate, and they miss the parts that actually break in Wellington. Our humidity doesn’t take a winter off, our sun is strong enough to cook weather stripping year-round, and the rainy-season pattern of multiple daily cycles gets far less attention than it deserves. A generic lubricate-and-tighten list catches almost none of that. What follows is a checklist built around how doors really fail in Wellington, with an honest line drawn between the tasks you can do safely and the ones that should go to a technician. Work through it once and you’ll understand your door better than most homeowners ever do.
Quick Answer
In Wellington, the highest-value maintenance tasks are lubricating springs, rollers and hinges with a silicone or lithium-based product (never WD-40 as a lubricant), inspecting torsion springs and cables for early rust and wear, checking weather stripping for UV cracking and hardening, and testing the opener’s balance and safety reverse. Most of this is safe to do yourself; spring and cable work is not, and belongs with a trained technician. A simple inspection every month, a lubrication pass every six months, and a professional check once a year will catch the large majority of failures before they happen.
Styles & brands we work with
- Raised-panel steel
- Carriage house
- Modern flush
- Full-view glass
- LiftMaster openers
- Chamberlain openers
Table of Contents
- Why Wellington Doors Fail Differently
- The Monthly Five-Minute Walk-Around
- Springs and Cables: What to Inspect, Never Repair
- Lubrication: The Right Product in a High-Humidity Climate
- Weather Stripping and the UV Degradation Pattern
- Opener and Safety Reverse Testing
- A Two-Season Maintenance Calendar for Wellington
- Which Tasks You Can Do and Which Need a Technician
Why Wellington Doors Fail Differently
Springs in Wellington don’t fail on the same schedule as springs in Arizona, and it isn’t close. The combination of sustained humidity, repeated wet-dry cycles through the rainy season, and the way Florida homeowners actually use a garage – opening and closing it several times a day during storm season when cars and gear are moving in and out – accelerates specific failure points that a generic checklist simply won’t flag. Humidity attacks the metal first. Cycle count wears it out second. And the two together tend to shorten the working life of a torsion spring compared to a drier, milder climate.
The practical consequence is that inspection matters more here than anywhere. Rust on a torsion spring doesn’t announce itself; it starts as light discoloration along the coil and progresses to pitting at the point where the spring flexes hardest. By the time a spring snaps, the warning signs were usually visible weeks or months earlier to someone who knew what to look for. That’s the entire premise of this checklist: look at the right parts, at the right intervals, with the right expectations.
Wellington’s sun exposure adds a second failure track. Weather stripping, bottom seals and any rubber components degrade under UV far faster than they would in a shadier climate, which is why we treat seal inspection as a real maintenance task and not an afterthought. If you want a broader picture of what typical repairs involve in this market, our garage door repair page covers the common jobs and how they’re handled.
One more local note: Wellington’s mix of older and newer homes means you’ll find everything from legacy openers running fine on their original hardware to modern smart-compatible systems. Doors and openers from Amarr, Wayne Dalton, Craftsman and Raynor are all common in the area, and each has its own quirks when it comes to lubrication points and wear patterns. Knowing your brand matters more than people expect.
The Monthly Five-Minute Walk-Around
The single most useful thing you can do for your garage door takes about five minutes, once a month, and requires no tools. It’s a visual and auditory inspection: look at how the door sits, listen to how it moves, and feel for anything that has changed since last month. Small changes caught early are cheap; the same changes caught late are expensive.
Here’s the sequence we recommend, in order:
- Stand inside with the door closed. Check that the door sits evenly against the floor and that the bottom seal touches the ground along its full width. A visible gap at one corner usually means a seal problem or a slight track misalignment.
- Open the door and watch it travel. It should move smoothly without jerking, hesitating or pausing. Any stutter usually points to a roller or track issue worth investigating.
- Listen. A healthy door makes a low, steady mechanical sound. Grinding, squealing, popping or a rhythmic clicking are all worth checking against the sections below.
- Look up at the springs. From the floor, at a safe distance, check for visible rust, separation in the coil, or gaps where the spring has begun to unwind. Do not touch. Just look.
- Check the cables by eye. Cables should run straight and taut along each side. Fraying, kinks or slack all warrant professional attention.
- Test the safety reverse. Place a roll of paper towels under the closing door and confirm it reverses on contact. More on this in the opener section.
That’s the whole routine. The value isn’t in any single check; it’s in establishing a baseline so you notice when something drifts. A door that sounds slightly different this month than last month is telling you something, and a monthly habit is the only way to hear it.
Springs and Cables: What to Inspect, Never Repair
Springs are the most dangerous part of your garage door system, and that fact should shape how you approach maintenance. A torsion spring holds an enormous amount of stored energy when the door is down. When one fails, it releases that energy instantly. This is not a component for homeowner repairs, no matter how straightforward the tutorial makes it look. What you can safely do is inspect from a distance and know the warning signs.
Here’s what early spring failure looks like in a humid climate like Wellington’s:
- Light brown or orange discoloration along the coil, especially near the ends where flexing concentrates. Surface rust on a spring is different from the factory paint; it looks powdery and spreads.
- Pitting – small crater-like spots in the metal surface. Pitting is the more serious sign; it means the metal is beginning to lose structural integrity.
- A visible gap in the coil, which usually means the spring has already broken and the door is being held only by the opener (a real safety problem; stop using the door).
- Uneven door travel or a door that feels noticeably heavier to lift manually than it used to.
Cables are similarly off-limits for DIY work. They operate under high tension and a cable that snaps can whip with enough force to injure. What you can do is look: check for fraying near the drums, kinks in the run, or cables that have slipped off their drums. Any of those findings justifies a call.
Our garage door spring repair service is a named specialty precisely because this is the highest-risk, most mechanically demanding part of any system, and the difference between a competent replacement and a risky one is real. If you suspect spring trouble, don’t work around it. Have it looked at.
On the cost side, a typical spring replacement in the Wellington market runs roughly $180 to $340 for a single spring, and a matched pair replaced together is usually about twice that figure. The written estimate you receive sets the final price, and it’s quoted and agreed before any work begins.
Lubrication: The Right Product in a High-Humidity Climate
Here’s where a lot of well-meaning homeowners go wrong: they reach for WD-40. It’s the most recognizable can in the garage, but standard WD-40 is a water displacer and light solvent, not a long-term lubricant. In a high-humidity environment like Wellington’s, it will actually attract and hold dust, which turns into an abrasive paste on your rollers and hinges. Over time that accelerates wear rather than preventing it.
What works better:
- Silicone-based lubricant for rollers, hinges and the torsion spring (apply lightly – a little goes a long way).
- Lithium grease for the opener’s rail and chain, and for the bearing plates.
- White lithium spray as a solid all-purpose option for hinges and the roller stems.
- Never oil the tracks. Tracks should be cleaned with a damp cloth and left dry; oil collects grit and defeats the purpose.
The right cadence for most Wellington homes is a lubrication pass every six months, with a light touch-up in the peak of the rainy season when humidity is highest. The process itself takes about fifteen minutes: with the door closed, apply lubricant to the spring, the hinges at each joint, the roller stems (not the wheels), and the opener rail. Then open and close the door a few times to work the product in.
Why does this matter more here than in drier climates? Because corrosion is a slow chemical process that humidity accelerates. A hinge that might last years without lubrication in Arizona can start to seize within a single wet season if it’s left dry. The lubrication pass is cheap insurance against a much more expensive repair.
Weather Stripping and the UV Degradation Pattern
Wellington’s sun does specific things to rubber and vinyl that you can actually predict. UV exposure causes the material to lose its plasticizers (the compounds that keep it flexible), which means it hardens, shrinks, and then cracks – usually in that order. If you know the pattern, you can spot it early.
What UV degradation looks like in Wellington:
- Discoloration first – the seal turns slightly gray or chalky before any cracks appear. This is the earliest warning sign.
- Hardening – press a fingernail into the seal; if it doesn’t spring back, it’s past its useful life.
- Shrinking – the seal pulls away from the door edges or the bottom corners, leaving visible gaps.
- Cracking – small surface cracks progress to actual splits. Cracks running along the length of the seal (rather than across it) usually mean UV damage rather than mechanical wear.
The bottom seal is the most important one to check, because that’s where water and pests get in. The side and top seals matter for energy efficiency and weather protection, but the bottom seal is the workhorse. A deteriorated bottom seal also causes the door to bounce or fail its safety reverse test, because the door doesn’t sense the same contact surface it was set up for.
Replacing weather stripping is a genuinely homeowner-friendly job – it’s mostly a matter of measuring, cutting to length, and pressing the new seal into its track. The one caveat is that if the door has bent or misaligned in a way that’s causing uneven seal wear, replacing the seal alone won’t fix the underlying problem. That’s a case for professional inspection.
If you’d like an experienced eye on the seals, tracks and overall alignment, our Wellington Garage Door Repair Co team can take a look and give you an honest read on what’s maintenance and what’s a real repair.
Opener and Safety Reverse Testing
The safety reverse is the single most important function on your opener, and it’s the one most homeowners never test. The system is designed to reverse the door if it contacts an object while closing – and it only works reliably if it’s tested and adjusted correctly. On older openers, the reverse is set by force and travel limits; on newer models, it’s often a combination of force sensing and photo-eye obstruction detection.
Here’s how to test both:
- Photo-eye test: with the door open, wave an object (a broom handle works well) across the photo-eye beam at the bottom of the door. The door should refuse to close, and in most cases the opener’s light will blink or a diagnostic code will flash.
- Contact reverse test: place a roll of paper towels flat on the floor under the closing door. Close the door and confirm it reverses on contact with roughly the resistance of the roll – not so light that it reverses on air, not so heavy that it crushes the roll.
- Balance test: disengage the opener (pull the release handle) and lift the door by hand to about halfway. It should stay in place with minimal effort. If it won’t hold, the springs are out of balance or weakened, and that’s a spring issue, not an opener issue.
If either test fails, the opener needs adjustment. On modern LiftMaster and Chamberlain systems (the myQ ecosystem most smart-home integrations rely on), the force and travel settings are accessible through the unit’s controls, and the manual walks you through it. On legacy openers, the adjustment dials are on the back of the motor unit. If you’re not comfortable with it, this is a reasonable point to have a technician look – the cost of getting it wrong is a door that fails to reverse when it matters.
Our garage door opener repair service covers every common brand in the area, and the same is true across the broader range we work on. Whether it’s a Genie from the 2000s, a Raynor running fine, or a newer smart opener that’s stopped responding to the app, the diagnostic approach is the same.
A Two-Season Maintenance Calendar for Wellington
Four-season checklists are a poor fit here. Wellington’s year splits into a wet season and a dry season more than it does into four distinct seasons, and the maintenance priorities shift accordingly. Humidity peaks during the rainy months, which is when corrosion accelerates and when daily opening cycles climb because cars and gear are moving in and out more often. The dry months are when UV exposure does its slow work on seals. Build your calendar around those two tracks.
Here’s a realistic annual schedule for most Wellington homes:
| Task | Frequency | Season focus |
|---|---|---|
| Visual walk-around and safety reverse test | Monthly | Year-round |
| Lubrication pass (spring, hinges, rollers, rail) | Every 6 months | Just before and during the wet season |
| Spring and cable visual inspection | Every 3 months | Wet season heavy |
| Weather stripping check | Every 3 months | Dry season heavy |
| Track cleaning (dry cloth only) | Every 3 months | Year-round |
| Professional inspection and tune-up | Annually | Just before the wet season |
Three things are worth pointing out about this schedule. First, the monthly walk-around is non-negotiable – everything else builds on knowing what normal sounds and feels like. Second, lubrication and seal care sit on opposite seasonal tracks because they fail for different reasons. Third, the annual professional inspection is the single best investment on the list, because it catches things the eye misses and because it’s a chance to catch opener calibration issues before they become failures.
If you have a second home or a door that’s used lightly, you can stretch the walk-around to every two months, but not further. Infrequent use can actually mask failures rather than prevent them.
Which Tasks You Can Do and Which Need a Technician
An honest split matters here. Some garage door tasks are genuinely homeowner-friendly, and some carry real risk if done wrong. Pretending everything needs a professional wastes your money; pretending everything is DIY risks injury. Here’s our line, and the reasoning behind each side.
Safe for homeowners
- Lubrication. Simple, low-risk, and dramatically extends component life when done with the right product.
- Visual inspection. Look, listen, note – no tools and no risk.
- Weather stripping replacement. Measure, cut, press. The only tricky part is getting the correct profile for your door.
- Track cleaning. Damp cloth, dry after. Never oil the tracks.
- Safety reverse testing. The paper towel test and the photo-eye test are both safe and worth repeating monthly.
- Opener calibration on modern units, if you’re comfortable working through the manual’s steps.
Requires a technician
- Any spring work. Torsion and extension springs store enough energy to cause serious injury. This includes spring replacement, adjustment and anything involving the winding bars.
- Cable work. Cables under tension can whip and cause injury when they fail. Frayed or slack cables need professional replacement.
- Track straightening. Minor alignment is tempting to fix yourself, but a bent track that’s forced back into place usually distorts further and can cause the door to come off its rollers.
- Panel replacement. Sectional panel replacement involves removing tension from the system and rebalancing – not a solo job.
- Opener replacement or major repair. Wiring, force calibration and travel limits all need to be correct for the door to operate safely.
The rule of thumb: if the task requires either releasing stored mechanical tension or touching anything under cable tension, it goes to a professional. Everything that requires a rag, a can of lubricant, a tape measure or a visual inspection is fair game for a homeowner who wants to be hands-on. For a fuller picture of how these repairs usually go in the Wellington area, our garage door repair service page is a solid reference point.
A note on safety for anything involving electricity at the opener: if you’re not confident working near the power supply, don’t. Unplugging the unit before you poke around is a minimum; a licensed professional should handle anything beyond the plug.
Common Mistakes to Avoid
- Using WD-40 as a lubricant on rollers and hinges. It draws dust in a humid climate like Wellington’s and accelerates wear instead of preventing it. Use silicone or white lithium instead.
- Oiling the tracks. Oil collects grit and turns the tracks into grinding paste. Clean with a dry cloth and leave them dry.
- Skipping the safety reverse test. It’s the single most important safety check on the whole system and takes thirty seconds. A door that fails to reverse is a serious hazard, especially with kids or pets around.
- Assuming weather stripping is fine because it’s still attached. Wellington’s UV exposure hardens and shrinks seals long before they visibly crack. Test with a fingernail press, not by eye alone.
- Ignoring a noisy door. Grinding, squealing or a rhythmic clunk are all early indicators. Noise is not a personality trait of the door; it’s diagnostic information.
- Replacing a door when a repair would do. Unless the panels are structurally compromised or the door is wildly out of balance, most problems are fixable. Ask for a diagnosis before you ask for a quote on a new door.
- Trying spring repairs because a video made it look manageable. Spring work is the number one source of serious garage door injuries. It’s not a matter of effort; it’s stored energy that will release regardless of who is in the way.
See the difference
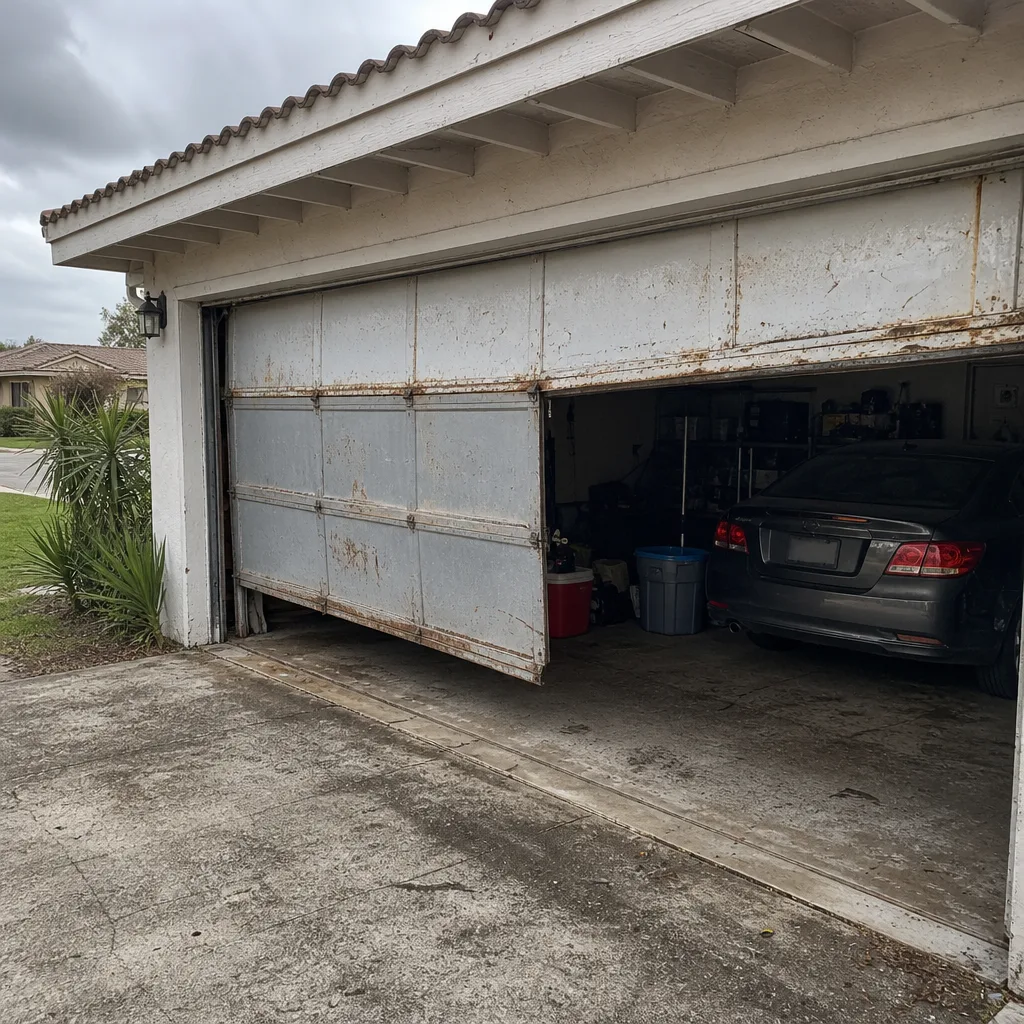 Before
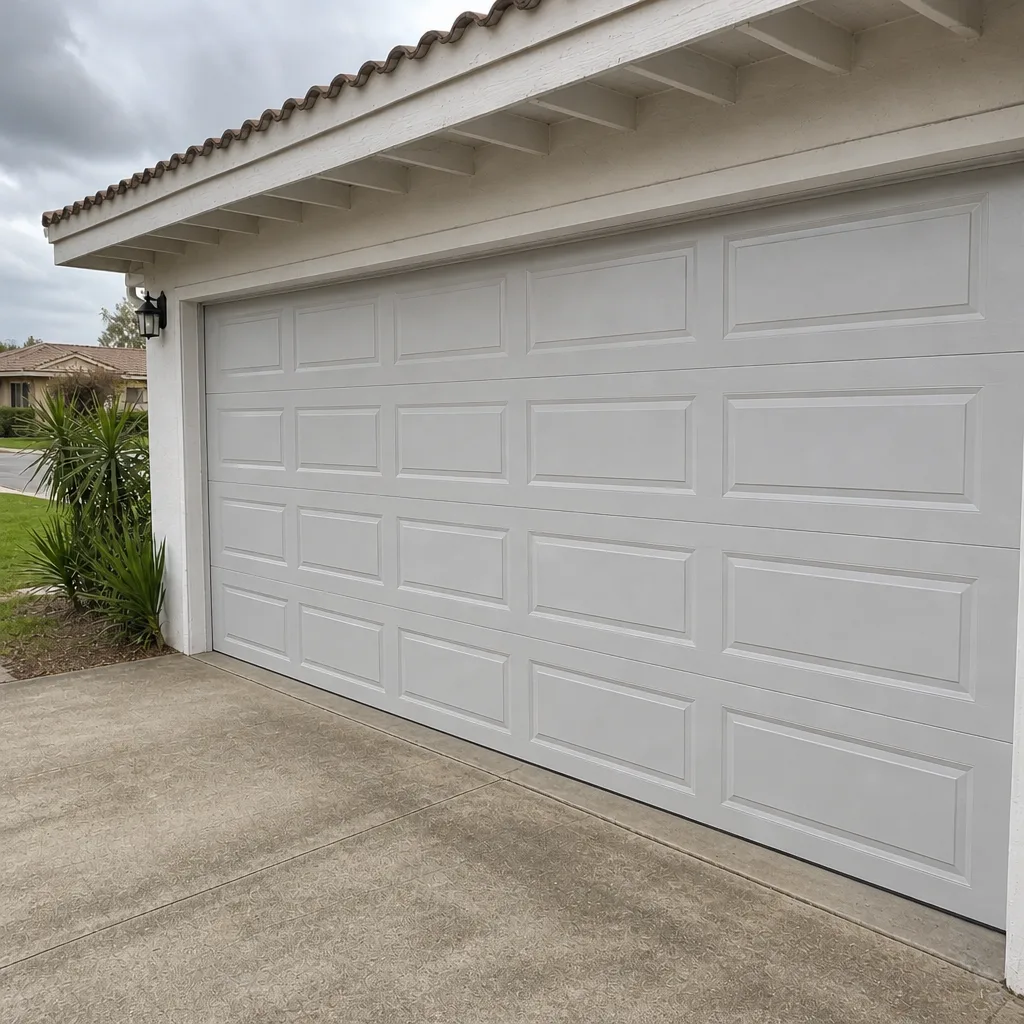 After
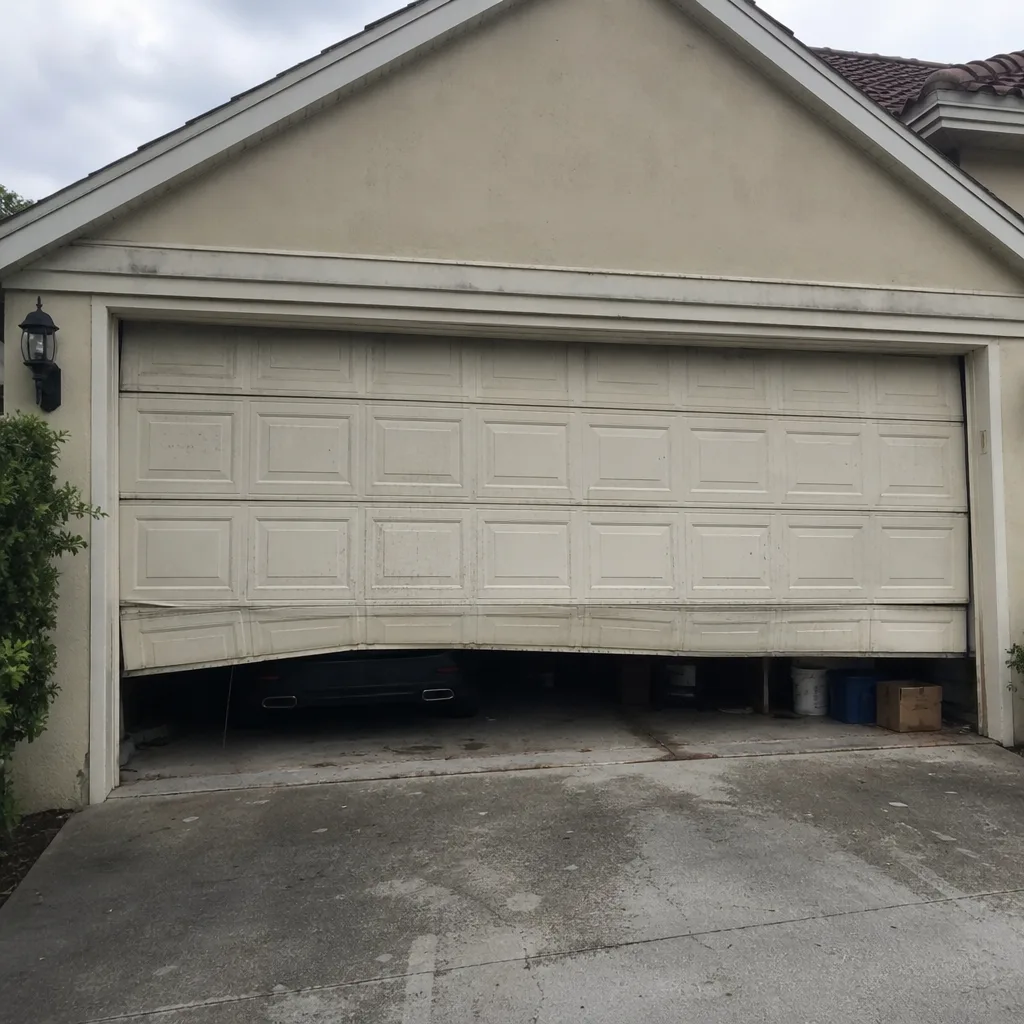 Before
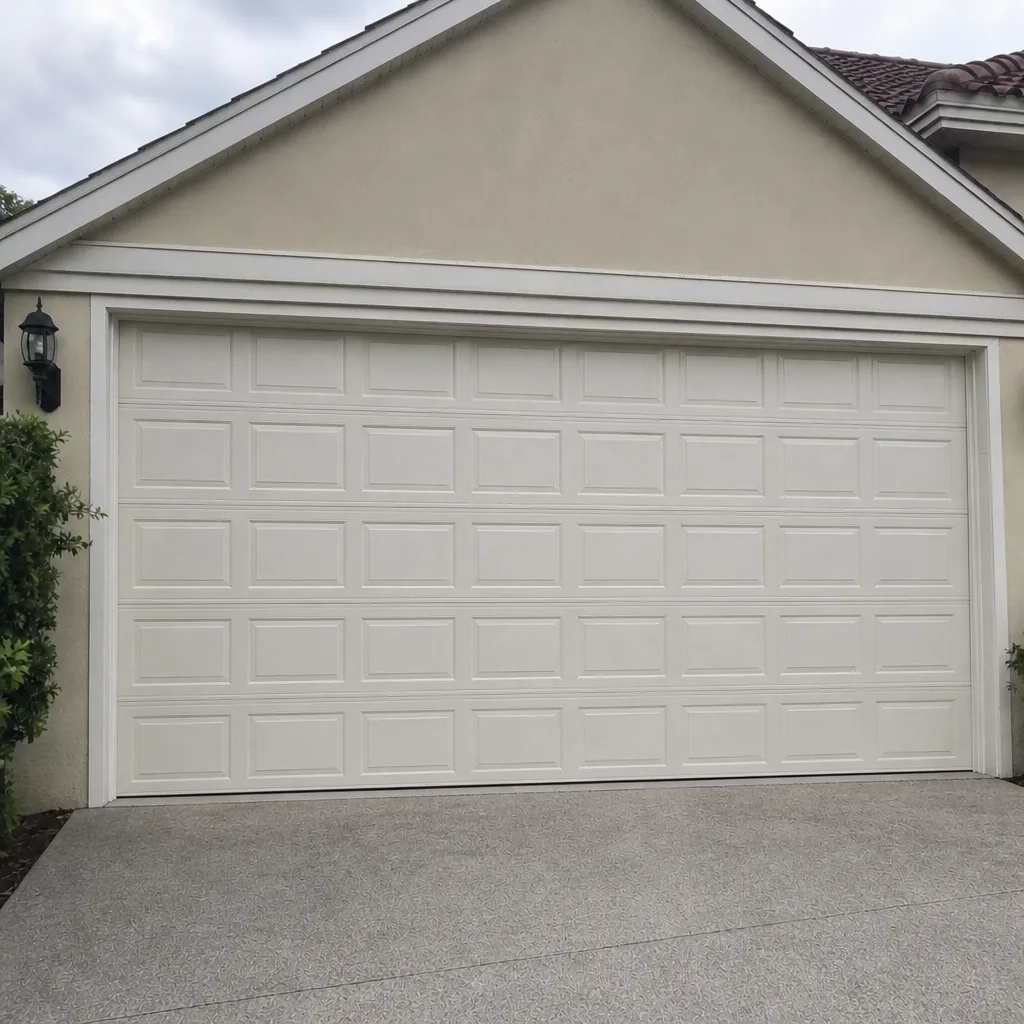 After
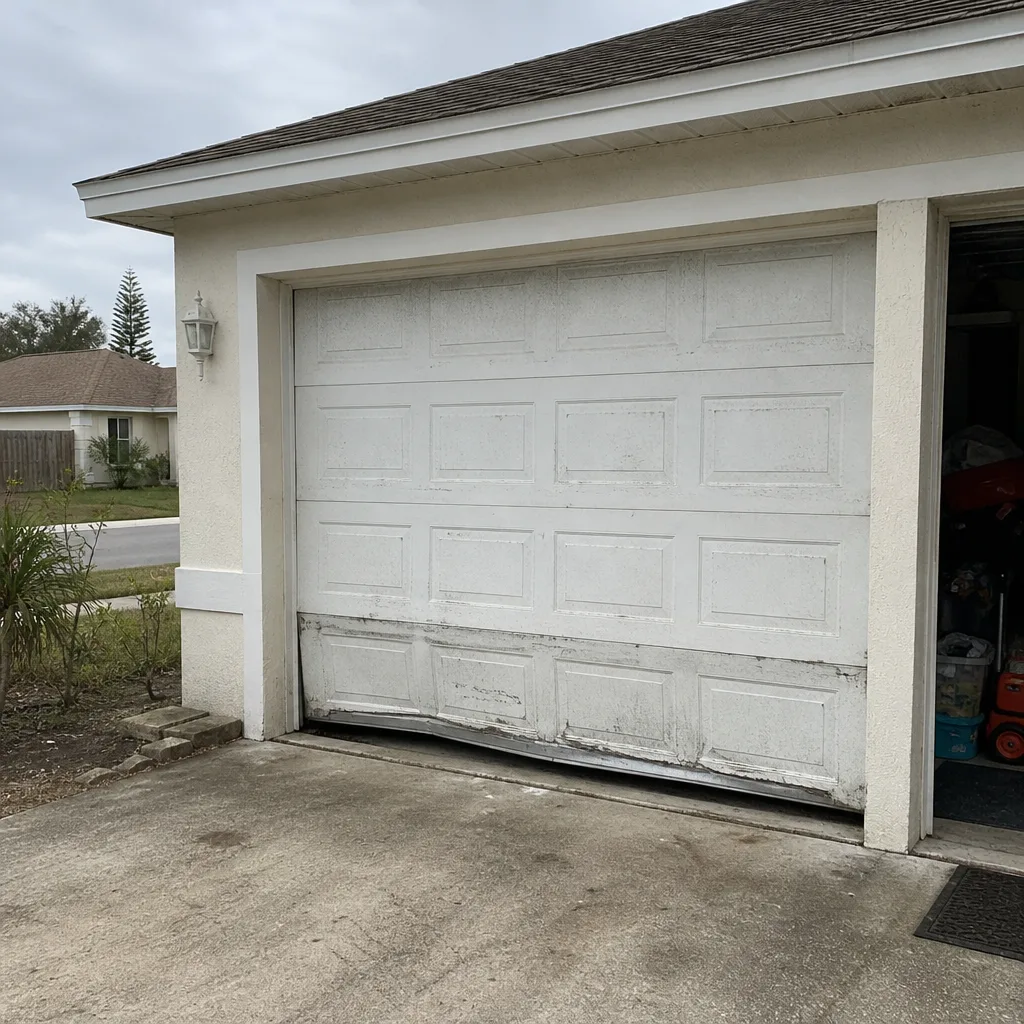 Before
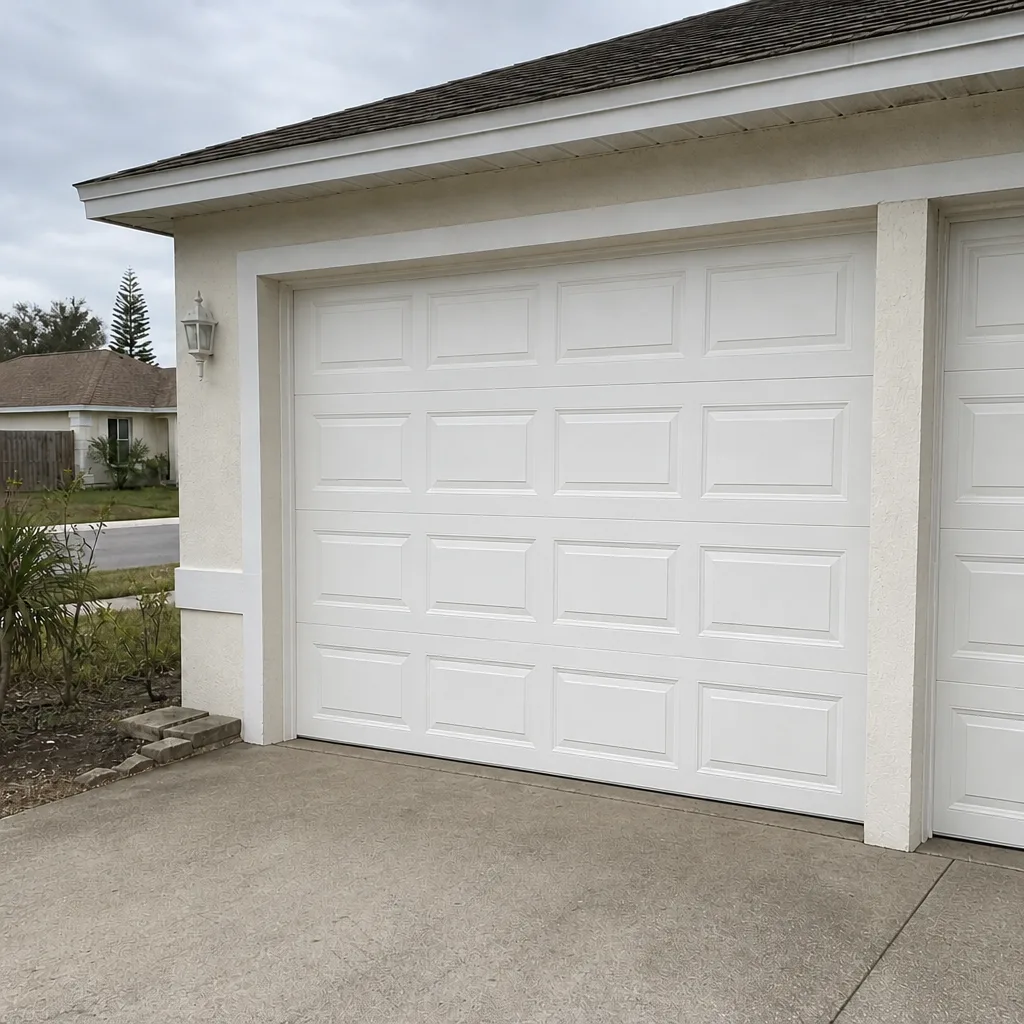 After
When to Call a Professional
Some problems need a technician, and knowing them saves time, money and risk. Call a professional if any of the following is true: the door is stuck halfway, making a hard bang when it opens or closes, or has one spring visibly broken; a cable is frayed, slack, or off its drum; the door has come off its tracks; the opener will not close the door or fails the safety reverse test after adjustment; or a door weight has changed noticeably and you suspect spring weakness. Any of those is a same-day or next-visit situation rather than a “keep an eye on it” situation.
Our technicians have up to 11 years of experience and are certified to service eight major brands, including LiftMaster, Chamberlain, Genie, Clopay, Amarr, Wayne Dalton, Craftsman and Raynor. That range matters because most Wellington garages have a specific brand in place, and we work on yours rather than pushing a replacement.
Wellington Garage Door Repair Co offers free estimates in Wellington. To schedule a look at your door, call (844) 913-0920. We answer 24/7. Fast dispatch from 7am to 7pm, Sunday through Friday. We’re closed Saturday. The estimate is quoted and agreed before any work starts, so there’s no surprise on the invoice.
Frequently Asked Questions
A thorough professional service once a year, plus your own monthly visual inspection, is the right baseline for most Wellington homes. The rainy season is the best time for the professional visit, since that’s when humidity-driven corrosion is most active and when a technician can catch spring and cable wear before it becomes a failure. If you use your door heavily or have an older system, consider a second lubrication pass during the wet months.
Yes, applying a light spray of silicone-based lubricant to a torsion spring while the door is closed is safe for a homeowner. Do not touch the spring otherwise, do not use winding bars, and do not attempt to adjust tension. The lubricant application is the only homeowner-safe operation on the spring. Any other work on springs requires a technician because of the stored energy involved.
Humidity-driven corrosion and higher cycle counts during the rainy season are the two main factors. Wellington’s sustained humidity accelerates rust on the spring coil, which weakens the metal faster than it would in a drier climate. Combined with more frequent open-close cycles when homeowners are moving cars in and out during storm season, springs here tend to reach the end of their working life sooner than springs in dryer regions. Visual inspection every three months is the best defense.
You can replace most weather stripping yourself. Bottom seals, side seals and top seals are available in standard profiles, and the work is mostly measuring, cutting to length and pressing the new material into its track. The one situation worth a call is when wear is uneven – if the seal on one side is worn far more than the other, that usually means a door alignment issue that replacing the seal won’t fix.
Typical ranges in the Wellington market vary by the job: a single spring replacement generally runs about $180 to $340, and a matched pair is usually about twice that. Opener repairs and general door tune-ups depend on the specific fault, which is why a written estimate is the only reliable number. Call (844) 913-0920 for an exact quote – estimates are free.
Same-day service is often possible for stuck or broken doors, and emergency service is a core offering rather than an add-on. Call (844) 913-0920. We answer 24/7. A call outside dispatch hours is booked into the next opening, Sunday through Friday, 7am to 7pm. We’re closed Saturday, so Saturday calls are booked into Sunday.
No. The written estimate is quoted and agreed before any work starts, and that’s the price. What a technician finds on site goes into the estimate – not into an invoice that arrives afterward. If something else turns up during the job, you’ll hear about it first and decide whether to proceed. That’s the honest diagnosis model: repair first, replace only when it makes sense.
The local professionals we connect you with are licensed and insured as their state requires. Our technicians have up to 11 years of experience, and they’re certified to service eight major garage door and opener brands, including the systems most common in Wellington homes. Every job is quoted, agreed and completed against a written estimate.
The Bottom Line
Wellington doors fail for specific reasons – humidity, UV exposure, and rainy-season cycle counts – and a checklist that ignores those factors misses the parts that actually break. The work itself is not complicated. A five-minute monthly walk-around builds the baseline; a lubrication pass every six months with the right product slows corrosion; spring and cable inspections every three months catch the highest-risk wear early; and a yearly professional check catches what the eye can’t. Stay away from spring and cable work, use silicone or lithium lubricant instead of WD-40, and treat noise as information rather than a quirk. For anything past the homeowner-safe list, one call handles the diagnosis, the repair and the follow-through. Written by the team at Wellington Garage Door Repair Co.
Written by the team at Wellington Garage Door Repair Co.